 Lynden Roofing
 Why Birch Bay Roofs Wear Differently Than Roofs Inland
Birch Bay sits right on the water, and that changes what a roof has to deal with year after year. Salt-laden air moves inland off Georgia Strait and settles on shingles, flashing, and fasteners. Combine that with the driving rain that comes sideways off the water during winter storms, and you've got a roof that's being tested from angles a typical inland Whatcom County home never sees. Add in the shade from mature evergreens common along the bay, and you get a long moss season that can run nearly nine months out of the year in the wetter pockets of the neighborhood.
None of this means a roof in Birch Bay is doomed to fail early. It means the roof has to be built, sealed, and maintained with that combination in mind. A repair that would hold up fine on a dry, sun-exposed roof in eastern Whatcom County can fail within a season or two out here if it wasn't done with coastal conditions in mind.
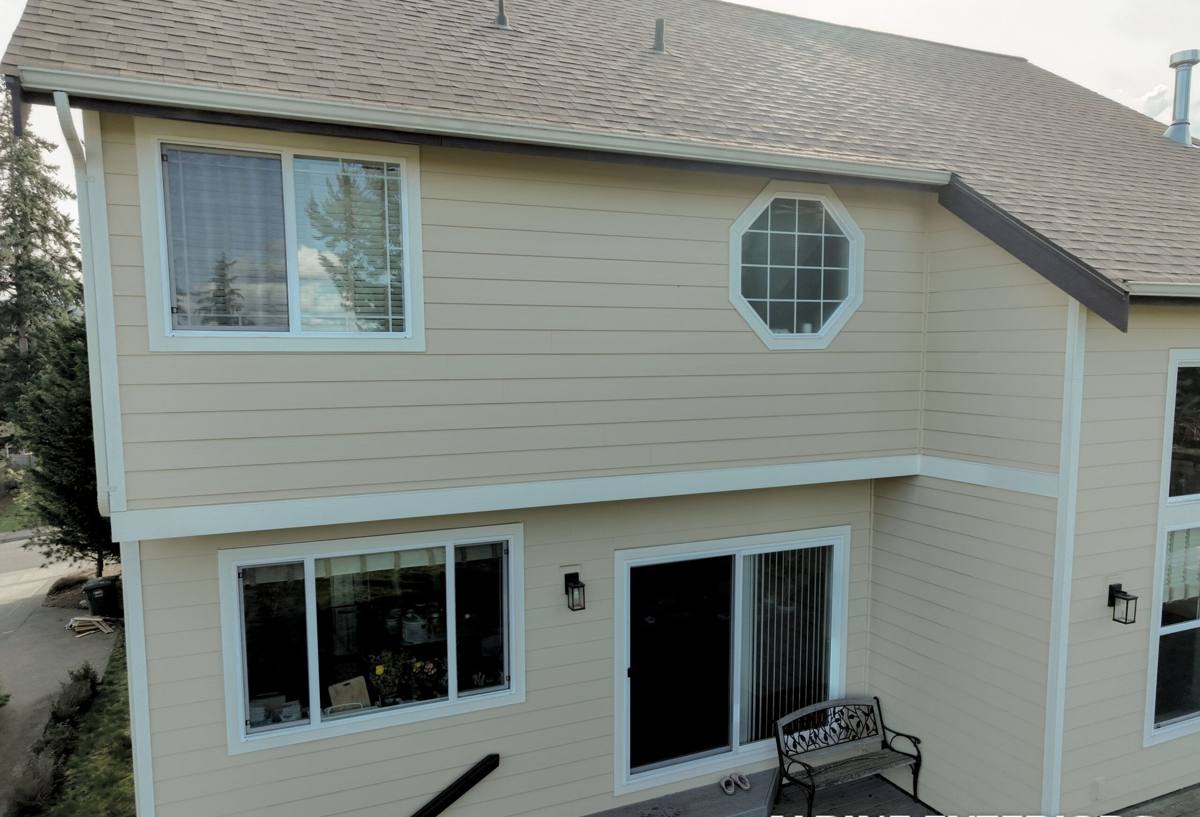
Signs a Birch Bay Roof Needs Repair, Not Just a Look From the Ground
Salt air and moisture damage often start small and hidden. By the time a stain shows up on a ceiling, the underlying problem has usually been active for a while. Homeowners in this area should watch for:
- Granules collecting in gutters or at the base of downspouts — a sign shingles are wearing thin
- Dark streaking or green-black patches, especially on north-facing slopes that stay shaded and damp
- Moss clumps at the edges of shingles or growing along ridge lines
- Soft or spongy spots when walking a roof for inspection
- Rust streaks below metal flashing or fasteners, a common early warning in salt air
- Curling, cracked, or lifted shingle edges, especially on slopes that catch the prevailing wind off the water
- Water stains on interior ceilings or in the attic near chimneys, vents, or skylights
- Daylight visible through the roof deck when viewed from inside the attic
Any one of these on its own might not mean much. A few of them together, especially near penetrations like chimneys, skylights, or plumbing vents, usually means it's worth having someone look closer before the next winter storm cycle.
What a Correct Roof Repair Actually Involves
It's Rarely Just the Shingle You Can See
A lot of roof leaks in this area don't start with the shingles at all — they start at the transitions. Flashing around chimneys, valleys, skylights, and sidewalls is where water finds a way in, especially when driving rain is pushing moisture sideways instead of straight down. A repair that only replaces a few shingles without checking the flashing underneath is a patch, not a fix.
Flashing and Transitions
Step flashing at sidewalls, counterflashing at chimneys, and valley metal all need to be checked for corrosion, loose fasteners, and failed sealant. In a salt-air environment, galvanized flashing corrodes faster than it would inland, and a repair should account for that rather than reusing compromised metal.
Underlayment and Decking
If water has been getting past the shingles for any length of time, the underlayment and the wood decking beneath it can be affected. Soft, delaminated, or rotted decking has to be replaced — patching shingles over damaged decking just delays a bigger repair and can hide the problem from an eventual buyer or inspector.
Matching Materials the Right Way
When a section of roof needs new shingles, matching the existing material matters for more than looks. Mismatched granule color is a cosmetic issue, but mismatched shingle profile or weight can affect how well the new section sheds water and ties into the old. On older roofs, an exact match isn't always available, and a honest repair estimate should tell you that up front rather than promising a seamless blend that isn't realistic.
Common Repair Types We See Around the Bay
| Repair Type | Typical Cause in This Area | What's Involved |
|---|---|---|
| Flashing repair or replacement | Salt-air corrosion, failed sealant at chimneys and valleys | Remove old flashing, inspect decking beneath, install new flashing, reseal transitions |
| Localized shingle replacement | Wind-lifted or cracked shingles from storm exposure | Remove damaged shingles and surrounding rows as needed, replace underlayment if compromised, install matching shingles |
| Moss and debris removal with treatment | Long shaded, damp season | Soft-wash or hand removal of moss, gutter and valley debris clearing, treatment application to slow regrowth |
| Deck repair | Prolonged undetected leak | Remove affected shingles and underlayment, replace rotted plywood or boards, rebuild the roofing layers over sound decking |
| Vent and penetration reseal | Cracked pipe boots, aged sealant around fixtures | Replace boots and collars, reseal or replace flashing at each penetration |
Our Roof Repair Process, Start to Finish
- Inspection. We walk the roof (weather permitting) and check the attic from inside, looking at decking, insulation, and any staining, not just the shingles from the ground.
- Honest diagnosis. We tell you what's actually causing the problem, not just where the water is showing up. Sometimes a stain in one room traces back to a flashing failure several feet away.
- Written scope and estimate. You get a clear explanation of what needs to be done, what materials will be used, and a straightforward price range before any work starts.
- Repair work. We remove and replace only what's actually damaged, matching materials as closely as possible and rebuilding flashing and underlayment to current standards, not just the original spec.
- Cleanup and check. Job site is cleared of debris and fasteners, and we walk the repair with you before we consider the job finished.
We don't upsell a full replacement when a repair will genuinely hold. We also won't tell you a patch will last if the underlying roof is past the point where repair makes sense — that's a disservice to a homeowner who then has to pay for the same fix twice.
Moss, Algae, and the Long Wet Season
Moss doesn't just look bad — it holds moisture against the shingle surface long after the rest of the roof has dried out, which accelerates granule loss and can work its way under shingle edges over time. In Birch Bay, shaded north slopes and roofs near tree cover tend to stay damp longest, and that's where moss establishes fastest.
Prevention Habits That Actually Help
- Keep gutters and valleys clear so water doesn't pool against shingle edges
- Trim back overhanging branches to let more sun and airflow reach shaded slopes
- Have moss physically removed rather than just power-washed, which can drive granules loose and damage the shingle surface
- Use zinc or copper strips near the ridge on moss-prone roofs, which release trace metals that discourage regrowth as rain washes over them
- Schedule a moss check every year or two if your roof has significant shade — waiting until it's visibly thick usually means it's already affecting the shingles underneath
Repair or Replace? An Honest Comparison
Not every roof problem in Birch Bay needs a full replacement, but not every problem should be patched indefinitely either. The table below reflects general guidance, not a diagnosis — every roof is different, and age, material, and prior repair history all factor in.
| Situation | Repair Usually Makes Sense | Replacement Should Be Considered |
|---|---|---|
| Roof age | Roof is within its expected material lifespan and damage is localized | Roof is near or past its expected lifespan, especially with granule loss across large areas |
| Extent of damage | Isolated leak or damaged section with sound decking elsewhere | Multiple leak points, or damage found in several unrelated areas during inspection |
| Decking condition | Decking is solid where opened up for repair | Widespread soft or rotted decking found during inspection |
| Repair history | First repair on this section of roof | Same area has already been repaired more than once |
Why a Crew That Already Works Birch Bay Matters
Roofing crews that mostly work drier, more sheltered areas inland don't always account for what salt air and constant coastal moisture do to fasteners, flashing, and sealant over time. A crew that regularly works this stretch of Whatcom County has already seen how these homes age in this specific environment — which slopes hold moss longest, which flashing details tend to fail first in driving rain, and which materials genuinely hold up near the water versus which ones just look good on install day.
That familiarity shows up in small decisions during a repair: using corrosion-resistant fasteners instead of standard ones, sealing transitions with materials rated for constant damp exposure, and knowing which shaded slopes are worth flagging for moss prevention even if that's not what you called about. It's the difference between a repair that solves today's leak and one that also holds up through the next several winters of Birch Bay weather.
What to Expect Before You Call
A quick self-check before reaching out can help you describe the problem and get a faster, more accurate estimate:
- Note which room or area shows staining, and whether it appears after heavy rain or wind specifically
- Check the attic (safely, with a flashlight) for daylight, staining, or damp insulation
- Look at the roof from the ground on a dry day for obvious missing, curled, or displaced shingles
- Note the approximate age of the roof if you know it, or when it was last worked on
- Mention any nearby trees or shaded slopes, which helps us anticipate moss or debris issues before we're on site
If you're dealing with a leak, a suspicious stain, visible moss buildup, or you just want a straightforward opinion on the condition of your roof, we're glad to come take a look. We offer free, no-pressure estimates for roof repair in Birch Bay and the surrounding Lynden and Whatcom County area — use the form below to get started.