 Lynden Roofing
 Siding That Has to Work Year-Round in Laurel
Laurel sits in that stretch of Whatcom County where marine air, low winter sun, and month after month of damp weather put real stress on a home's exterior. It's not one dramatic storm that wears out siding here — it's the slow grind of moisture sitting against the wall, salt-tinged air working into seams and fastener heads, and moss finding every shaded, north-facing surface and staying put for months at a time. Siding that looks fine in a showroom can still fail here if it wasn't chosen and installed with this specific climate in mind.
That's the lens we use on every Laurel project: not "what siding is popular" but "what siding, installed which way, actually holds up to this address's weather." For us, that answer is James Hardie fiber cement, installed to Hardie's own specifications rather than shortcuts that save an afternoon but cost a homeowner years down the road.
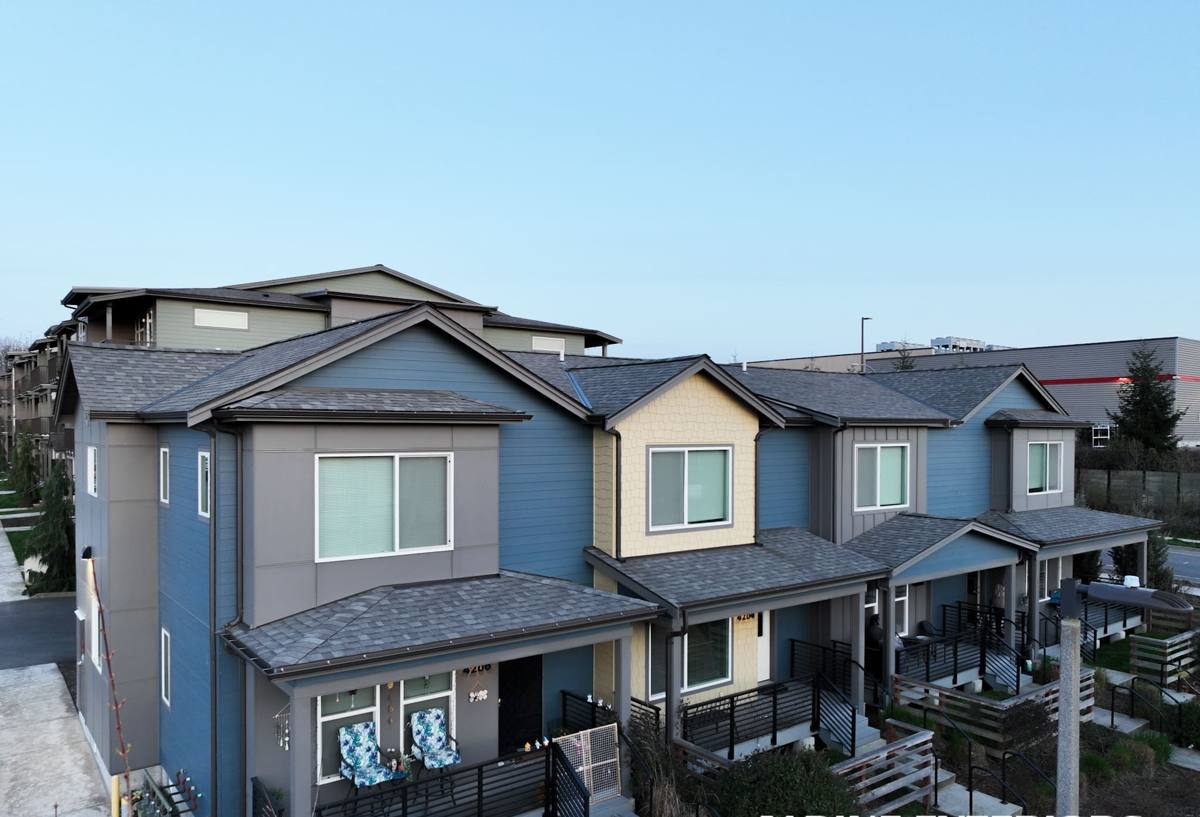
What Driving Rain and Salt Air Actually Do to a Wall
Wind-driven rain doesn't just hit siding — in this area it gets pushed sideways and upward under laps, around trim, and into any gap that wasn't sealed or flashed correctly. Combine that with the salt component in coastal Whatcom County air and you get a slow chemical and moisture assault on anything with exposed metal fasteners, untreated wood fiber, or a finish that wasn't built for it. Add a long stretch of shaded, humid months and moss and algae get a real foothold, especially on north and east-facing walls that never fully dry out between rains.
The result on a lot of older Laurel homes is predictable: paint that's failed at the laps, soft or delaminating panels at the bottom courses, streaking and green growth in the shaded sections, and caulk joints that gave up years before the siding itself did. None of that is a mystery — it's what happens when a wall system isn't matched to this specific weather pattern.
Why This Matters More for Some Products Than Others
Wood-based and some engineered wood sidings depend heavily on an intact factory coating and perfect field sealing to keep water out of the wood fiber. Once that coating is compromised — by UV, by a fastener that wasn't seated right, by a joint that was never caulked — moisture gets in and the clock starts on rot. Fiber cement doesn't have that same vulnerability at its core, because the material itself isn't wood, but installation quality still determines almost everything about how it performs over 20-plus years in this climate.
What a Correct James Hardie Installation Involves Here
James Hardie makes a good product. Whether it performs well on a Laurel home for the next few decades comes down to installation details that are easy to skip and hard to inspect once the siding is up. On every job we hold to the same standards, regardless of schedule pressure:
- Minimum required gaps at butt joints, trim, and window and door casings — sized correctly and left open, not caulked shut, so the assembly can shed water and move with temperature changes
- Correct fastener type, length, and placement, driven flush (not overdriven), to avoid cracking the panel or leaving a fastener head exposed to weather
- A proper water-resistive barrier and flashing sequence behind the siding — the siding is the visible layer, but the drainage plane behind it is what actually keeps a wall dry
- Rain screen or furring where the wall assembly calls for it, so water that does get behind the cladding has somewhere to go instead of sitting against sheathing
- Factory-primed or ColorPlus-finished cut edges sealed per Hardie's specification, especially at field cuts made on-site
- Clearance from grade, decks, and roof lines held to Hardie's minimums so splash-back and standing moisture don't sit against the bottom course
Every one of these is in James Hardie's published installation instructions. None of them are optional if you want the material's real-world lifespan and the manufacturer's warranty to actually apply.
Choosing the Right Hardie Line and Finish for This Climate
James Hardie's HZ5 climate engineering is built for regions that get consistent moisture exposure — which describes Laurel and the surrounding Lynden area well. Beyond the climate zone, the finish decision matters just as much for a home dealing with driving rain and shaded, moss-prone elevations.
| Option | Where it fits best in Laurel | Trade-off to know |
|---|---|---|
| HardiePlank lap siding, ColorPlus finish | Most home exteriors; factory-baked finish resists the fading and streaking that field-painted siding shows first | Color selection is limited to Hardie's ColorPlus palette unless field-painted later |
| HardiePanel vertical siding | Accent walls, gable ends, and modern-style elevations; sheds water well when detailed correctly | Vertical joints need extra attention to flashing and battens |
| HardieShingle siding | Craftsman-style homes or accent sections where a textured look is wanted | More labor-intensive install than lap siding, which affects cost |
| Primed (paint-grade) Hardie products | Case where a custom, non-stock color is required | Field paint is another maintenance item and doesn't carry the same finish warranty as ColorPlus |
For most Laurel homes, we recommend ColorPlus lap siding as the base system precisely because the factory finish is the part of the assembly most exposed to UV and moisture cycling — and it's the part a field-applied paint job struggles to match over time.
The Moss and Algae Problem, Addressed at Installation
No siding is moss-proof if the conditions are right for growth — shade, moisture, and organic debris will eventually support it on almost any surface. What installation quality controls is how much moisture the wall actually retains and how much surface texture and standing debris the siding gives moss and algae to hold onto. A correctly gapped, correctly flashed Hardie installation dries out faster after rain than a wall with tight joints and trapped moisture, and a factory-baked ColorPlus finish resists the surface breakdown that gives spores something rougher to grab onto. Gutter and downspout condition, tree cover, and grading around the foundation still matter — but the siding assembly itself should be dry, not just the paint on top of it.
Our Process on a Laurel Siding Project
- On-site assessment — we look at the existing siding's failure points, the wall's moisture history, sun and shade exposure by elevation, and any trim, flashing, or drainage issues that need to be corrected as part of the job, not left behind it
- Tear-off and inspection — removing the old siding lets us actually see the sheathing and water-resistive barrier underneath, which is where hidden problems usually show up
- Correcting the drainage plane — repairing or replacing damaged sheathing, installing or correcting the barrier and flashing, and adding a rain screen where the wall assembly benefits from one
- Installing James Hardie siding to spec — correct gaps, fasteners, and sealed cut edges, following Hardie's published instructions rather than a faster shortcut
- Trim, flashing, and detail work — the small transitions at windows, corners, and roof lines are where most future leaks originate if they're rushed
- Final walkthrough — checking clearances, caulking, and finish before calling the job done
Why Hiring a Crew That Already Works Laurel Matters
Whatcom County's building department requirements, typical Laurel-area wall construction, and the specific way weather hits a given lot don't come from a manual — they come from having done the work here repeatedly. A crew that already knows the region knows which elevations on a typical Laurel home take the worst of the driving rain, where moss problems tend to start first, and what corrections a given house's age and construction usually need before new siding goes on. That local pattern recognition is part of why we install James Hardie exclusively — one product system, installed consistently, means our crews get better and more consistent at every one of the details above with every job, instead of relearning a different manufacturer's quirks each time.
What Affects Cost on a James Hardie Project
| Factor | Why it moves the price |
|---|---|
| Tear-off and disposal of existing siding | More layers or hidden damage means more labor and disposal time |
| Sheathing or framing repair | Rot found once old siding is off has to be corrected before new siding goes on |
| Siding profile (lap vs. panel vs. shingle) | Shingle and detailed profiles take more labor hours per square foot |
| Trim and detail complexity | Homes with more corners, dormers, and window trim take more time to flash and finish correctly |
| Finish choice | ColorPlus factory finish vs. primed-for-field-paint changes both material cost and future maintenance |
We give straightforward, written estimates broken down by these factors rather than a single vague number, so a homeowner can see exactly what's driving the cost.
A Simple Pre-Project Checklist for Laurel Homeowners
- Note which walls stay shaded and damp longest — those elevations usually need the closest look at drainage and moss history
- Check gutters and downspouts are directing water away from the foundation and not splashing back onto lower siding courses
- Look for soft spots, bubbling paint, or visible green growth at the bottom few courses of existing siding
- Ask any contractor bidding the job what gap spacing, fastening, and flashing method they use — the answer tells you a lot about how the job will hold up
- Confirm in writing whether the installer is a certified James Hardie installer, since manufacturer warranty terms can depend on it
If you're weighing a siding replacement on a Laurel-area home, we're happy to walk the property, point out what the current siding is telling us, and put together a clear, no-pressure estimate for a James Hardie installation built for this specific climate.