 Lynden Roofing
 New-Construction Windows Are a Different Job Than a Retrofit
New-construction windows aren't installed the same way as replacement windows, and the difference matters more than most homeowners realize. A retrofit window gets set into an existing, already-sided opening — the old frame stays in place and the new unit is sealed against it. A new-construction window is installed during framing, before siding goes on, directly into a rough opening with a nailing fin that gets integrated into the wall's weather-resistive barrier (WRB) and flashing system. There's no old frame to lean on and no room for a "close enough" fit. Every layer — sheathing, flashing tape, house wrap, sill pan, and window — has to be built up in the correct order, because once the siding crew closes the wall, that sequence is permanent.
For a new build or an addition going up in Ferndale, that sequencing is the whole ballgame. Get it right and the window becomes part of a continuous drainage plane that sheds water for decades. Get it wrong and you've built a leak path into the wall that won't show itself until framing lumber is already rotting behind the drywall.
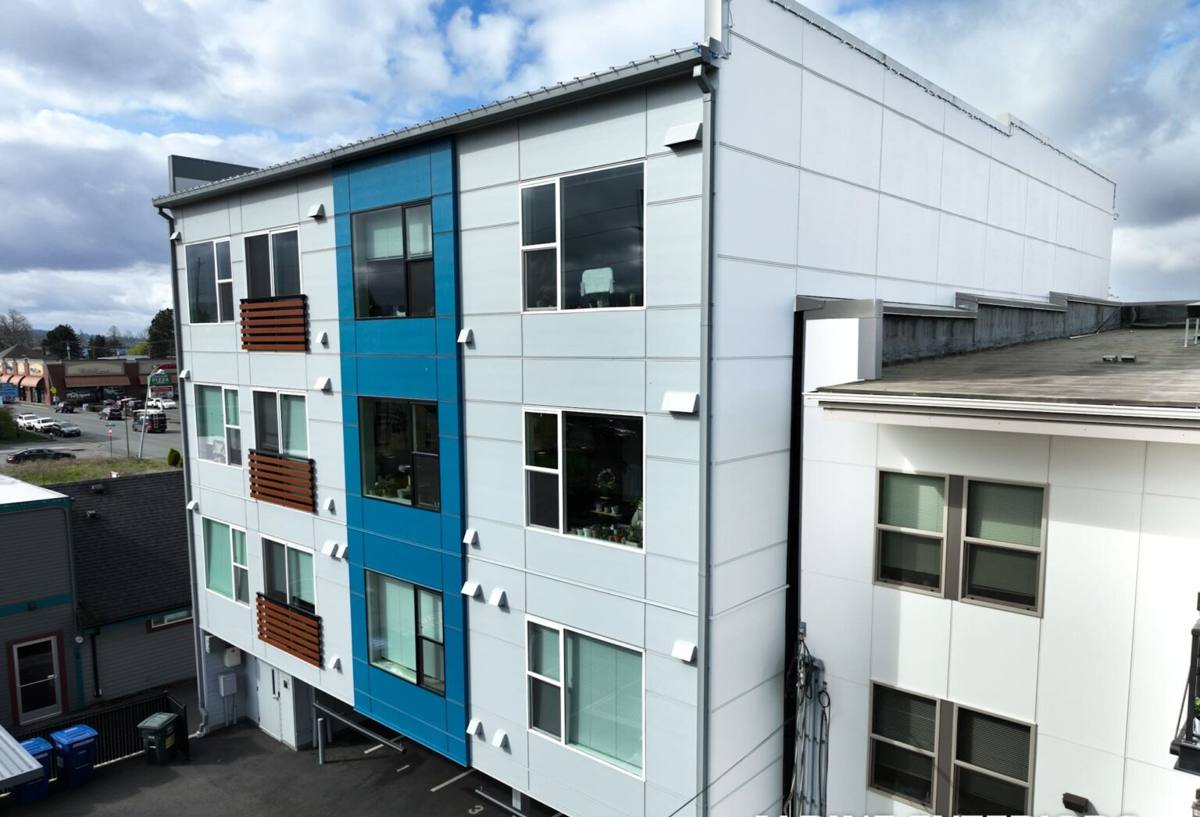
What Ferndale's Climate Actually Demands From a Window Install
Whatcom County sits in a marine climate, and homes near Ferndale catch it from more than one direction. Proximity to Bellingham Bay and the Salish Sea means salt-laden air reaches siding, trim, and window hardware more than it would further inland — that air accelerates corrosion on cheap fasteners, unprotected metal flashing, and lower-grade hardware finishes. Layer on top of that the driving, wind-driven rain that comes through in fall and winter storms, where water isn't just falling straight down but getting pushed sideways into every seam and joint. And then there's moss season — the long stretch of cool, damp months where anything that stays wet without drying out becomes a growing medium, including window sills, trim, and any spot where water is allowed to pool instead of draining away.
None of that is exotic weather. It's just steady, cumulative exposure, year after year. A window install that's "fine" in a dry climate can fail here in five or six years if the flashing details or fastener choices weren't right from day one. That's the standard we build to on every new-construction install in this area, not just the ones with a water view.
What This Means in Practice
- Sill pan flashing that creates a sloped, sealed drainage path out of the rough opening, not just a flat sealant bead
- Corrosion-resistant fasteners and hardware rated for coastal-adjacent exposure, not standard interior-grade hardware
- Flashing tape and sealants installed within their rated temperature and moisture windows, not applied on a damp or marginal day just to keep a schedule
- Drip caps and head flashing sized to actually kick wind-driven rain away from the head jamb instead of just covering it
What a Correct New-Construction Window Install Actually Involves
A proper install is a sequence, and every step depends on the one before it being done correctly. In order, the work generally looks like this:
- Rough opening verification. Before a window ever gets set, we confirm the opening is square, plumb, and sized correctly to the manufacturer's specification — with enough tolerance for shimming, but not so much that the unit floats loose in the frame.
- Sill pan installation. A sloped pan (rigid or flexible flashing) goes in first, so any water that ever gets past the window has a built-in path back outside instead of sitting on the framing.
- Flashing tape integration with the WRB. Jamb and head flashing get lapped correctly with the house wrap in "shingle style" — each layer overlapping the one below it — so water sheds downward and outward at every seam.
- Setting the window and fastening the nailing fin. The unit gets shimmed level and plumb, fastened per the manufacturer's schedule, and checked for square before the fin is sealed down.
- Head flashing and final WRB lap. The top of the opening gets its own flashing, integrated so the house wrap above laps over it — never the reverse.
- Interior air-sealing and insulation. The gap between the rough framing and the window frame gets sealed and insulated correctly, which matters for energy performance and for keeping condensation out of the wall cavity.
- Exterior trim and sealant. Once siding crews are ready to close in around the opening, the final sealant joints go in — compatible with the trim material and rated for exterior exposure.
Skip or rush any one of these steps and the window itself can be a great product and the job will still leak. This is why we treat new-construction window work as a flashing and sequencing job first, and a "hang the window" job second.
Frame Material: What Fits a Ferndale Build
Frame material choice matters more here than in a mild, dry climate, because the frame is dealing with constant moisture cycling and, closer to the water, salt exposure. There isn't one right answer for every project — it depends on budget, the home's design, and how much upkeep the owner wants to take on.
| Frame Material | Moisture / Salt-Air Behavior | Maintenance | Typical Cost Range |
|---|---|---|---|
| Vinyl | Good — won't rot or corrode, though very low-end vinyl can become brittle over many years of UV and temperature cycling | Low — occasional cleaning, no repainting | Lower |
| Fiberglass | Excellent — dimensionally stable through wet/dry and hot/cold cycles, strong resistance to warping | Low | Mid to upper |
| Wood (clad exterior) | Good on the exterior if the cladding and flashing are done correctly; the wood interior gives a traditional look but relies entirely on the exterior seal staying intact | Higher — exterior clad exposure points and any exposed wood need monitoring | Upper |
| Aluminum | Fair — strong and slim sightlines, but standard aluminum conducts cold and can be more prone to condensation; coastal-grade finishes help with corrosion but add cost | Moderate | Mid to upper |
For most new-construction projects in this area, we steer homeowners toward vinyl or fiberglass options with good weatherstripping and a warranty structure that actually covers seal failure, not just glass breakage. We'll walk through the trade-offs for your specific project rather than pushing one material across the board — the right call depends on your home's exposure, your budget, and how it's being sided.
How We Approach the Job
Because this is new-construction work, timing with the rest of the build matters as much as the install itself.
Plan Review and Rough Opening Coordination
Before framing is closed up, we review the window schedule and rough opening sizes against the actual units ordered, so there are no surprise mismatches on install day. On new builds we coordinate directly with the framing and siding crews so the sequence — sheathing, WRB, flashing, window, trim — happens in the right order without gaps in the schedule.
Install Day
We follow the sill-pan-first, shingle-lapped-flashing sequence on every opening, regardless of window brand or size. Each unit gets checked for level, plumb, and square before fasteners go in, and we document flashing details as we go so there's a record of how the wall was built, not just a finished wall that looks fine from the outside.
Final Walkthrough
Once windows are set and flashed, we walk the openings with the general contractor or homeowner before siding closes them in. That's the last point where a flashing detail can be corrected without tearing into finished siding, so we treat it as a mandatory checkpoint, not an optional step.
Mistakes We See in New-Construction Window Work
Most window leaks in newer homes don't come from a bad window. They come from installation shortcuts that don't show up until years later. The ones we watch for and avoid:
- Sealant used as a substitute for proper flashing, instead of as a secondary barrier behind correct flashing
- House wrap taped over the nailing fin instead of lapped correctly underneath the head flashing
- No sill pan, or a flat sill pan with no slope to actually drain water back out
- Fasteners driven through the fin without hitting solid framing, leaving the window under-secured
- Shimming skipped or done unevenly, which stresses the frame and can cause the sash to bind or the seals to fail early
- Standard-grade hardware and fasteners used on projects close enough to the water to warrant corrosion-resistant options
What to Ask Before Hiring for New-Construction Window Work
Because this work gets covered up by siding almost immediately, homeowners and general contractors have a narrow window to verify it was done right. A few questions worth asking any crew before they start:
- Do you install a sloped sill pan on every opening, or only sealant at the sill?
- How do you lap the flashing tape with the house wrap — shingle style, top to bottom?
- Will you document flashing details with photos before siding closes the wall in?
- What fastener and hardware grade do you use on projects near the water or coastline?
- What does the manufacturer's warranty actually cover — glass seal failure, frame defects, or both — and does incorrect installation void it?
- Have you worked new-construction jobs in this specific area before, and can you speak to how the local climate factors into your install details?
Why a Ferndale-Experienced, Lynden-Based Crew Matters
New-construction window installation isn't a specialty skill in the sense of needing exotic tools — it's a discipline of doing the same flashing sequence correctly, opening after opening, without shortcuts. A crew that regularly works new builds around Ferndale and the rest of Whatcom County has already seen how this specific climate — the salt air, the driving rain events, the long moss season — plays out on real jobs over real years. That's different from a crew installing windows the same way regardless of region.
Working out of Lynden, we're close enough to be on-site quickly for plan reviews, mid-framing check-ins, and the final pre-siding walkthrough — all of which matter more on new-construction work than on a simple retrofit, because there are more coordination points with the rest of the build. We're not subcontracting the flashing details out to whoever's cheapest that week; it's the same standard on every opening, on every job.
Get a Free, No-Pressure Estimate
If you're building new or adding on in the Ferndale area and want new-construction windows installed the right way the first time — correct flashing, correct sequencing, and materials suited to this climate — we're glad to take a look at your plans and talk through the details. Fill out the form below for a free estimate with no pressure and no obligation.