 Lynden Roofing
 Birch Bay's Climate Puts New Windows to the Test Immediately
Birch Bay sits close enough to the water that new-construction windows face conditions most inland Whatcom County builds never see. Salt-laden air corrodes unprotected hardware and fasteners faster than people expect, wind-driven rain gets pushed sideways into wall assemblies during winter storms, and the long stretch of damp, low-sun months from fall through spring keeps north- and shade-facing walls wet for weeks at a time. That combination is exactly why window installation on a new build near Birch Bay needs to be treated differently than a standard interior-county job.
None of this means new construction here is a problem. It means the installation details that are easy to skip on a drier site are the details that actually matter on this one. Flashing sequence, drainage planes, and hardware selection all carry more weight when the building sits this close to Puget Sound.
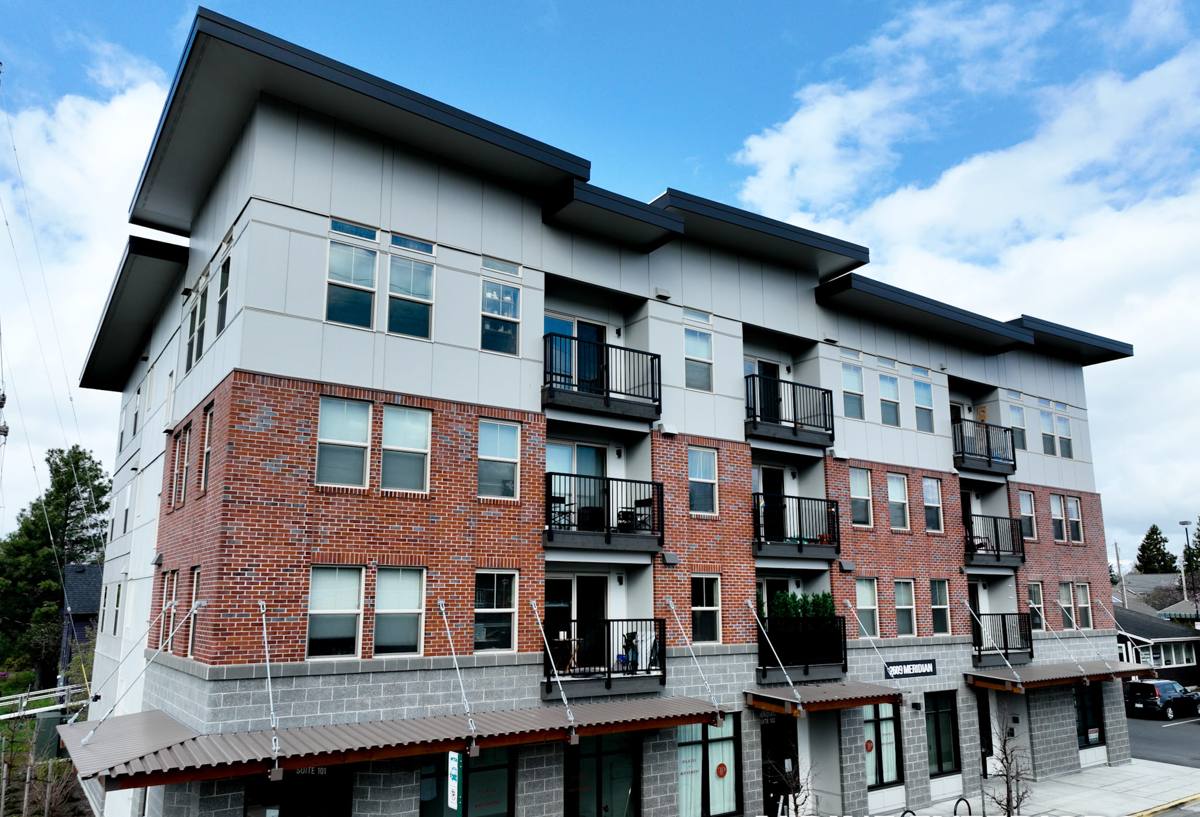
What Correct New-Construction Window Installation Involves
New-construction windows are installed before siding goes on, which gives a crew full access to the rough opening, the house wrap, and the flashing layers. That access is an advantage, but only if it's used correctly. A properly installed window in this environment includes:
- A sloped sill pan under the window opening so any water that gets past the window has a path back out, not into the framing
- Correctly lapped flashing tape at the sill, jambs, and head — installed in the right order so water always sheds downward and outward, never into a seam
- A continuous connection between the window flange and the water-resistive barrier (house wrap or building paper), with no gaps at the corners
- Proper shimming and fastening so the window sits square and doesn't rack once siding and trim add load
- Sealed, but not over-sealed, joints — some assemblies need a designed drainage gap, not a solid bead of caulk
Skipping or rushing any one of these steps rarely causes a visible problem on day one. It shows up two or three winters later as staining, soft trim, or a musty smell near the window — after the storm season has had time to find the gap.
Why This Matters More in a Coastal-Adjacent Build
Inland, a minor flashing shortcut might go unnoticed for a decade. Near Birch Bay, wind-driven rain events are more frequent and the moisture load on north and west walls is higher for more of the year. A small installation gap gets tested far more often here than it would in a sheltered inland lot.
Choosing Window Materials and Hardware for a Salt-Air Site
Material selection isn't just about looks or budget on a Birch Bay build — it's about what will hold up to airborne salt and sustained moisture without excessive maintenance. We look at frame material, glazing package, and hardware together, not in isolation, because a good frame with poor hardware still corrodes.
| Frame Material | Salt-Air Performance | Maintenance Consideration |
|---|---|---|
| Vinyl | Good — won't corrode or rot, handles moisture well | Low; verify UV-stable formulation for long-term color retention |
| Fiberglass | Very good — dimensionally stable, resists moisture and salt exposure | Low; higher upfront cost, minimal upkeep |
| Aluminum-clad wood | Moderate — cladding protects exterior, but any breach exposes wood beneath | Higher; depends on flawless sealing at joints and corners |
| Bare wood | Poor for this exposure — requires ongoing sealing and paint upkeep | High; not our first recommendation this close to salt air |
We're not against wood-frame windows as a category — they have a place in sheltered, well-maintained settings. But for a new build within reach of Birch Bay's salt air and driving rain, we steer clients toward vinyl or fiberglass because the long-term maintenance burden is lower and the failure mode (rot hidden behind cladding) is harder to catch early. Whatever frame material is chosen, we spec corrosion-resistant hardware — stainless or coated fasteners and locks — since standard hardware finishes can pit and discolor within a few seasons this close to the water.
Our New-Construction Window Process
On a new build, timing and sequence matter as much as the window itself. Our process is built around getting the water management right before the opening is ever covered up:
- Review the window schedule and rough openings against the actual units ordered, confirming sizes and swing/operation before anything is installed
- Inspect the house wrap and rough opening for square, level, and proper overlap before setting any window
- Install sloped sill pans and back-dam flashing at every opening
- Set the window, shim to square, and fasten per manufacturer specification — not a generic standard, since fastening patterns vary by product
- Flash the jambs and head in the correct shingle-lap order, tying into the water-resistive barrier with no gaps
- Apply interior and exterior sealant only where the window design calls for it, preserving any designed drainage path
- Photo-document flashing details at each opening before siding covers them, so there's a record of what's behind the wall
That documentation step matters on new construction specifically — once siding goes up, nobody can verify the flashing without opening the wall back up. Having it recorded protects the homeowner and gives us a reference if any question comes up down the road.
Mistakes We See on New Builds Near the Water
Most window problems we get called to fix on newer homes in this area trace back to a handful of recurring issues rather than a bad window itself:
- Flashing installed in the wrong order, so water is directed behind the barrier instead of over it
- House wrap taped over the window flange instead of the flange properly integrated into the wrap's drainage plane
- Standard hardware and fasteners used instead of corrosion-resistant options, leading to early pitting and staining
- Caulk used to "fix" a gap that should have been flashed, which traps moisture instead of shedding it
- Window openings framed slightly out of square, forcing the window to be shimmed unevenly and stressing the frame
Every one of these is preventable at the time of install and expensive to correct afterward, since fixing them usually means removing siding and trim to get back to the opening.
Moss, Ventilation, and Long-Term Moisture Management
Whatcom County's long moss season isn't just a roof issue — moss and algae growth on north-facing walls and around window trim is common wherever shade and moisture linger for months at a time. Good window installation reduces the moisture available for that growth by making sure water sheds away from the wall assembly instead of sitting against it. We also pay attention to how window placement affects wall ventilation, since a wall that can't dry out between rain events is a wall where moss, mildew, and trim rot get a foothold, window quality aside.
Cost Factors for New-Construction Windows in Birch Bay
Pricing on new-construction windows depends on more than the unit cost of the window itself. The factors below tend to move the number most on Birch Bay builds:
| Factor | Why It Matters Here |
|---|---|
| Frame material | Fiberglass and higher-grade vinyl cost more upfront but reduce maintenance in salt air |
| Glazing package | Higher-performance glass helps with both energy loss and condensation control in a damp climate |
| Number and size of openings | More openings mean more flashing details to execute correctly — labor scales with complexity, not just glass area |
| Hardware grade | Corrosion-resistant hardware costs more per unit but avoids early replacement near the coast |
| Site exposure | Walls facing prevailing wind and rain may warrant upgraded flashing details or sealants |
We give clients a broad, honest range up front based on the actual window schedule and exposure of the home, rather than a flat per-window number that ignores what the site actually needs.
Why Hiring a Crew That Already Works Birch Bay Matters
A crew that's only installed windows on drier, inland lots doesn't always carry the habits this site needs — the extra flashing step, the material call, the fastener choice. Working regularly in Birch Bay and along the rest of the Whatcom County coastline means those decisions aren't an afterthought; they're built into how we sequence the job from the first opening. That familiarity with local exposure conditions is worth as much as any single product spec on the window itself.
Questions Worth Asking Before You Sign a Window Contract
- Will sill pans and back-dam flashing be installed at every opening, not just some?
- What hardware and fastener grade is specified for a salt-air environment?
- Will flashing details be photo-documented before siding covers them?
- How does the crew's fastening and sealing method match this specific window manufacturer's instructions?
- What's the manufacturer's warranty, and does the installation method preserve it?
If a contractor can't answer these clearly, that's worth pausing on before signing anything.
If you're planning new-construction windows for a home in Birch Bay, Lynden Roofing Co is happy to walk the site plan with you and put together a straightforward, no-pressure estimate. Use the form below to get a time on the calendar.